What is monkeyrunner?
MonkeyRunner is a powerful tool that allows developers to control Android devices and emulators from outside the standard Android application code. It provides an API that enables you to write Python scripts to install applications, run tests, send simulated key events, capture screenshots, and save them on your workstation. The main purpose of MonkeyRunner is to perform functional or framework-level testing, as well as to execute unit test suites. However, it's also flexible enough to be used for various other tasks depending on your needs.
The Difference Between MonkeyRunner and the Monkey Tool
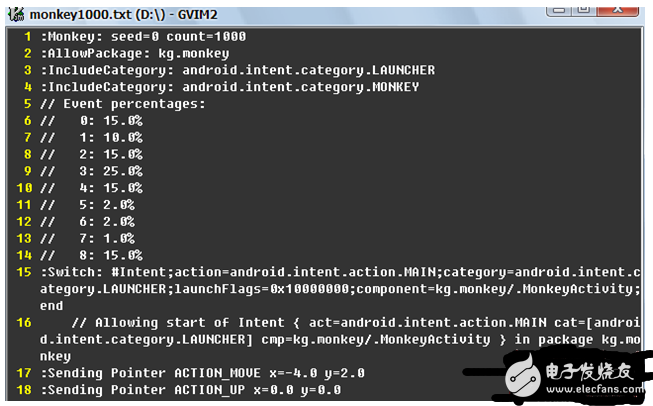
Monkey: This is a command-line tool that runs directly in the adb shell of a device or emulator. It generates a pseudo-random stream of user events such as touches, gestures, and keyboard inputs, which are useful for stress testing applications.
MonkeyRunner: Unlike the Monkey tool, MonkeyRunner is a scriptable API that runs on your workstation. It allows you to define and control events programmatically using Python, offering more flexibility and control over the testing process.
Types of Tests You Can Perform with MonkeyRunner
1. Multi-Device Control: MonkeyRunner can manage multiple devices or emulators simultaneously. You can connect all devices at once, launch emulators, and run tests across them using your own scripts.
2. Functional Testing: It supports automated functional testing by simulating user interactions like button presses and touch events, then capturing and analyzing the resulting UI state.
3. Regression Testing: By comparing captured screenshots against known correct results, MonkeyRunner helps ensure the stability and consistency of your app after updates or changes.
4. Extensible Automation: As a Python-based API, it allows integration with other tools and libraries. You can use Python’s os and subprocess modules to interact with Android tools like adb, expanding its capabilities beyond basic testing.
5. Jython Integration: MonkeyRunner uses Jython, a Python implementation that runs on the Java Virtual Machine. This makes it easy to interact with the Android framework, enabling developers to leverage Python syntax while accessing Android APIs.
How to Run MonkeyRunner
You can run MonkeyRunner either by executing a Python script or by entering commands in an interactive session. To start, you need to call the monkeyrunner command from the tools subdirectory of your Android SDK. If you provide a filename, it will run the script; otherwise, it opens an interactive prompt where you can type commands directly.
Command Syntax for MonkeyRunner:
monkeyrunner -plugin "plugin_jar" "program_filename" "program_options"
MonkeyRunner Test Tutorial
If you're looking to automate testing on Android, MonkeyRunner is a great choice. It offers a set of APIs that allow you to control devices and emulators through Python scripts. With it, you can install apps, run tests, simulate user input, take screenshots, and save them locally. While its primary purpose is to test apps or run unit tests at the application or framework level, it can also be used creatively for other automation tasks.
Unlike the UI/Application Exerciser Monkey (also known as Monkey), which runs via adb shell and sends random events for stress testing, MonkeyRunner gives you more control and precision through scripting.
Main Packages Used in MonkeyRunner:
MonkeyRunner: Provides helper functions for connecting to devices, managing UI elements, and supporting script execution.
MonkeyDevice: Represents a connected device or emulator. It includes methods for installing/uninstalling apps, launching activities, and sending events.
MonkeyImage: Handles image capture, comparison, and saving. It allows you to take screenshots and compare them with expected results for regression testing.
Here's a simple example of a MonkeyRunner script written in Python:
from com.android.monkeyrunner import MonkeyRunner, MonkeyDevice
device = MonkeyRunner.waitForConnection()
device.installPackage('myproject/bin/MyApplication.apk')
package = 'com.example.android.myapplication'
activity = 'com.example.android.myapplication.MainActivity'
runComponent = package + '/' + activity
device.startActivity(component=runComponent)
device.press('KEYCODE_MENU', 'DOWN_AND_UP')
result = device.takeSnapshot()
result.writeToFile('myproject/shot1.png', 'png')
For more details about the API, refer to the official Android documentation. If you're planning to implement automated testing, using Python with the MonkeyRunner API is a highly effective approach.
Optical Mirrors,Concave Spherical Mirrors,Elliptical Flat Mirrors,Silver Optical Mirrors
Danyang Horse Optical Co., Ltd , https://www.dyhorseoptical.com